Rover 825SD 800 Coupe 825i SD1 and Land Rover Web Site
![]()
Replacing front suspension lower ball joints
|
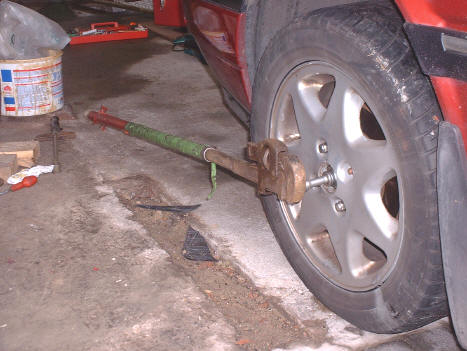
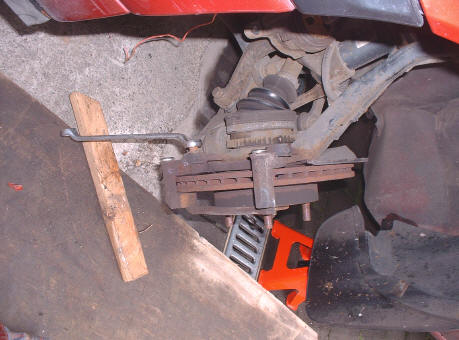
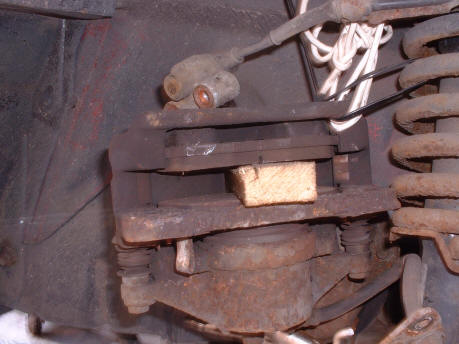
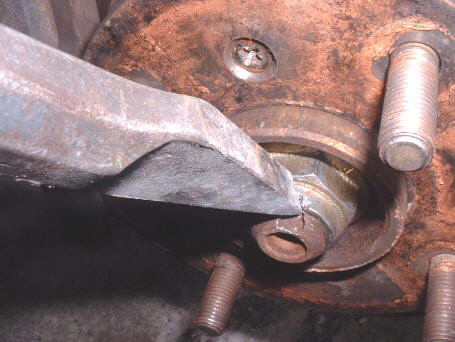
I had noticed that the ride of the car felt a bit vague at times and occasionally seemed to jump or slide to one side slightly when cornering especially if the road was bumpy. On the 800 series this usually indicates that one or both of the lower ball joint on the front suspension are worn. This can be checked if a bar is carefully inserted between the hub unit and the lower suspension arm where the joint is located, if levered and any movement is detected the joint needs replacing. If the front of the car is raised off its wheels it will need a jack under the joint nut or lower bracket to load the joint with some of the weight of the car or it is possible wear will not be detected, a common mistake of MOT testers who often miss this. I found the nearside joint was very bad and the one on the other side was ok, although I may replace it too as a precaution.
|
Some if not all the tools needed and sizes,
Sockets; Hub 32 mill, ball joint 22 mill, circlip pliers,
couple of 17 mills. Thanks George for reminding me.
|
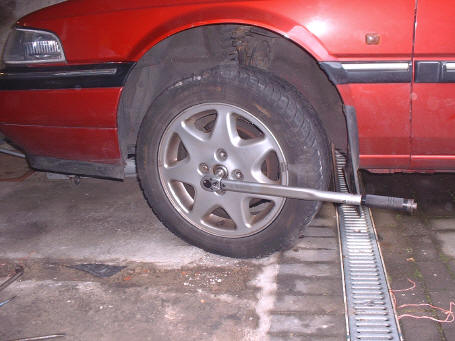
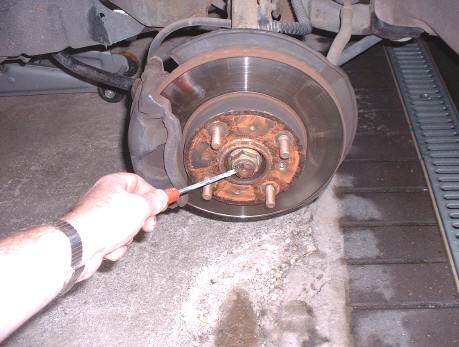
The wheel was taken off first, then the locking collar on the hub nut was knocked back using a small punch and hammer. Then the road wheel was replaced after first removing the small Rover centre trim - logo and the car lowered onto its wheels. Hand brake on and in gear. This is where good heavy duty tools are needed. I broke a fairly hefty T-bar trying to undo the hub nut. I had to improvise to carry on - not recommended! The hub nut was loosened but not unscrewed yet.
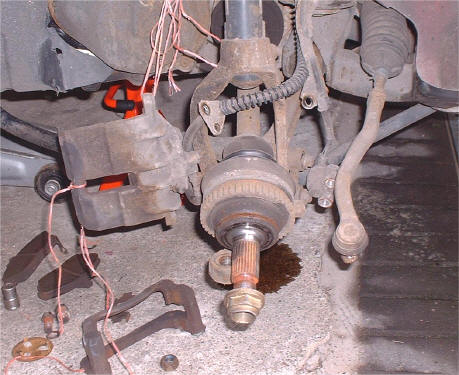
Once this was done the car was jacked up and axle stand were used to make it safe to work on. The brake caliper was undone and tied up out of the way to make sure the hydraulic hose was not strained. The carrier bracket and disc was also removed. The ABS sensor bracket was carefully taken off and after removing the small bolts that hold the pipes and wires, again tied up out of harms way.
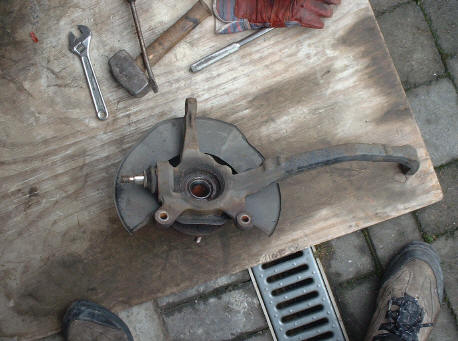
The hub nut was removed, then the lower ball joint, steering arm and upper ball joint nuts loosened, finally the joints were split. The hub can now be pulled off the drive shaft splines, making sure the shaft was not pulling out at the gearbox end, I believe petrol models of the 800 have a circlip on the shaft to stop it pulling out, the diesel does not. Clamping the shaft behind the upright with a couple of pairs of mole grips can help.
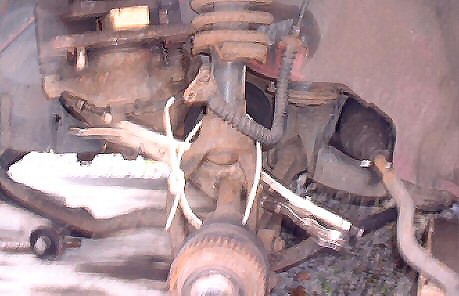
The photo below shows the area with the hub unit removed.
In this instance I left the brake pads in the caliper, to make sure the if brake pedal is pressed accidentally there'd be no problems find a piece of wood that will fit between the pads.
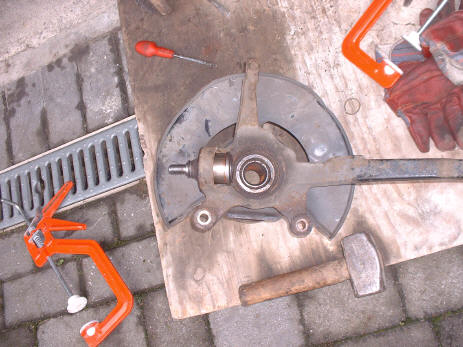
There is a circlip that holds the ball joint in place this was removed and the old joint driven out of the housing.
The housing was cleaned up and the ball joint was pushed in by hand to start with making sure it went in squarely. Here's the new joint.
The new joint was then
pressed in place using a big bench vice and a steam pipe connector to
act as a spacer over the thread and rubber boot (a large enough socket
would do). The circlip was replaced. Everything was then put back together
The hub nut was tightened but not to full torque yet. The road wheel was replaced and the car lowered to the ground.
With the hand brake on and the car in gear I then tightened the hub nut using a torque wrench. Refer to workshop manual for correct setting The wheel has to come off again to bend the locking collar into the indentation on the end of the hub.
Job done! the wheel was put back on and the car now drives without any of the handling problems. |