|
Disclaimer |
|
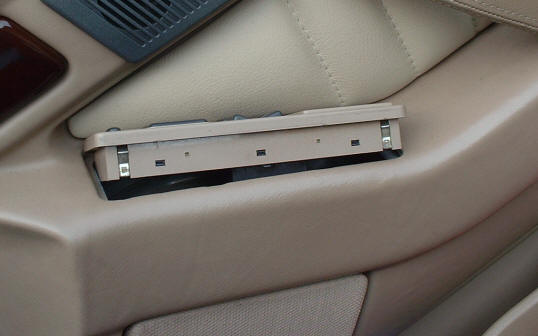
By using this website you are deemed to have read, understood and agreed to this disclaimer. Bookmarking to a page on this server/site whereby this warning page is by-passed shall constitute an implicit acceptance of the foregoing terms herein set forth. If, in the course of browsing my website, reading e-mail (or an ICQ message) from me, or acting on information contained in either, or in any other form of communication, from me, something catastrophic happens to either you, any one else, or to your / anyone else's property, I disclaim any and all responsibility for what happens. All material on my web sites is for educational and research purposes only. Any information contained on this site, or sent to you via e-mail or in any other form of communication or inference from me is not guaranteed to be accurate or correct. I disclaim any and all responsibility for any and all consequences that may arise from my or my website's information however used or interpreted. This photofix assumes you can solder, it is outside the scope of my page to guide anyone who can't and wants to learn use this link http://tinyurl.com/5x6qe9 (or Google "how to solder" for more info). Links at the bottom of this page to description of operation and wiring diagram. The electric windows would open but would not close from the driver's door switch pack. Often this is due to bad solder joints in the under-dash fuse box, the repair for this is here suspect this if there are also other interior electrical faults. However this had been done and the fault was still present. After checking the connections to the window ecu (under the front left hand seat) suspicion fell on the door switch pack itself. It should be noted that this is for the Coupe two window lift control. Four door models are similar but have four switches, the circuit board appears identical apart for the extra components and switches to control the rear windows. The pack can be carefully levered out of the door with a small flat-bladed screw driver. Remove and unplug the electrical connector.
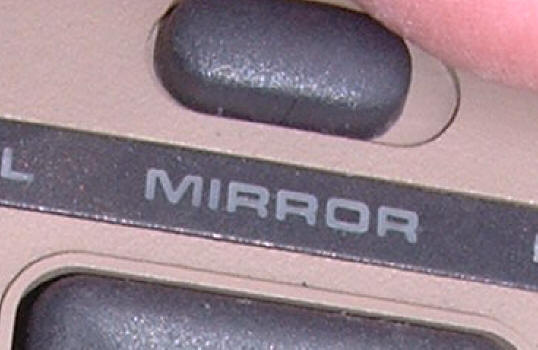
This little button needs to be levered off.
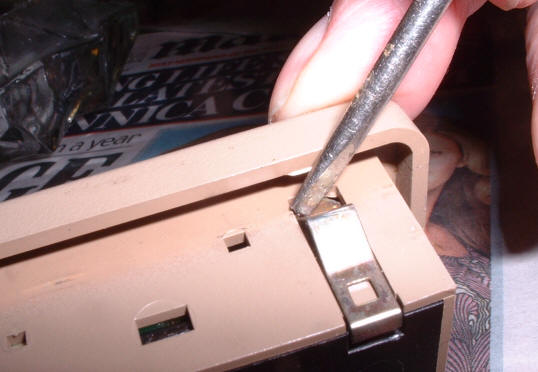
These four spring clips need to be removed, then slightly spread the sides of the main "box" to release the back plate, then the circuit board.
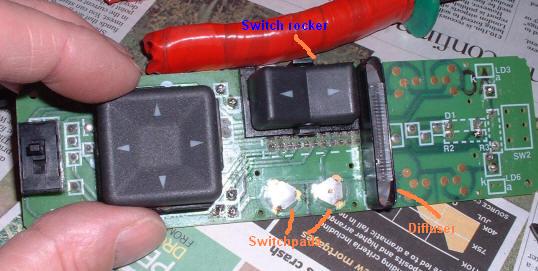
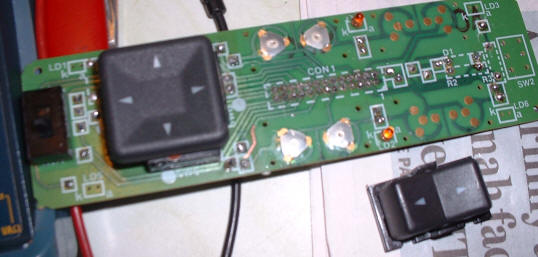
To get better access to the soldered joints for inspection and repair, I stripped the circuit board except for the mirror controls, connection pins, diode and resistor. Under the optical diffuser that illuminates the switch there were some bad solder joints which I cleaned up and re soldered.
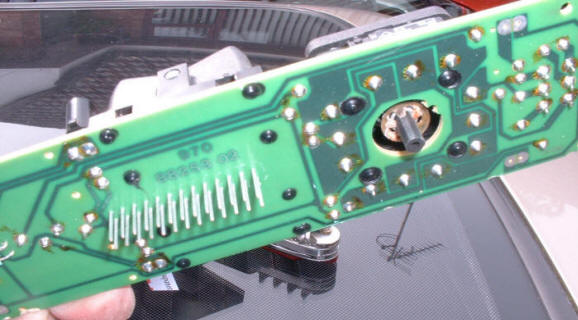
The rest of the joints were then resoldered to make sure they were OK. Then the circuit board was turned over and all the joints on that side checked/soldered. Reverse side
Reassembly is the usual reverse of taking it to bits, the switch rockers can be held in place with a small blob of super glue instead of the original plastic pins which had to be cut off when the rockers were removed.
I'm guessing this fault originated
through a combination of poor original soldering and the switch pack
getting wet from time to time when the window has been open in the
rain. Moisture would then set off a slow corrosion process in the
solder joints.
Back to the top of this
page |