Rover 825SD 800 Coupe 825i SD1 and Land
Rover Web Site ![]()
Engine Glow Plugs (heater plugs)
Thanks to Richard Thomas for help with information on this subject.
|
The engine was very reluctant to start on a frosty February morning. When it did eventually catch there were clouds of smoke until it settled down, a little investigation pointed to the glow (or heater) plugs. After testing them I found that two of the four (one is for each cylinder) had failed. So here is how I tested and replaced them. How they are
controlled. (pre 1996 cars, from this year onwards the engine ECU
controls the glow plugs, refer to the correct workshop manual some
information here:
Click)
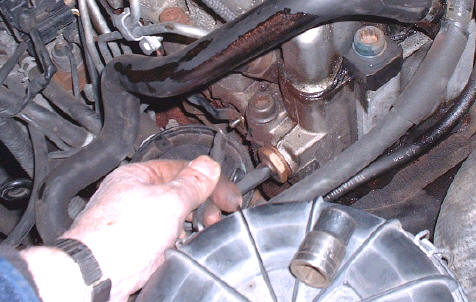
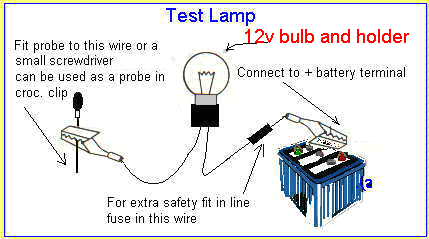
To test the plugs. If there is absolutely no other way that you can test the plugs I suppose this will have to do, be it on your own head. You do run the risk of causing a short circuit if the wire accidentally touches the engine or bodywork. A LOT of current will flow through the wire in these circumstances and personal injury or a fire is a very likely result. If you have no test gear it is possible to use a test lamp which can be a reliable means of testing the plugs if used correctly. Click here to see how a test lamp is arranged. It is much safer than the "hotwire" method as the bulb will limit the current flow and prevent short circuits. Best of all is to buy a multimeter and use that. I took off the rubber air hose that goes from the intercooler to the inlet manifold to gain more access. |
|
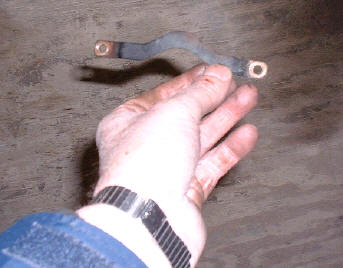
This is the cable from the control unit is connected to number 4 heater plug. From there the plugs are coupled together by links (or bus bars) which go from terminal to terminal. |
|
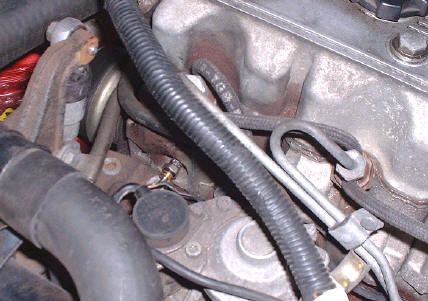
They are connected in parallel , which means all the plugs receive the same voltage. They need to be disconnected to separate them before testing. After they have been disconnected use the multimeter or test lamp to check each one. If it is OK the bulb on the test lamp will light, if it does not the plug needs replacing. Number 3 and 4 plugs are reasonably easy to change. Number 1 is difficult but possible. I removed the clips on the pipes, top hose and wiring which allowed them to be moved to one side a little, to give a bit more room to work in. |
|
But plug number 2 is right behind the fuel injector pump and can't be changed without removing it (not so on later engines). The good news is that the engine will start ok on 3 glow plugs even in the coldest weather we get in my part of the UK, but if you ever strip down the engine in this area put a new glow plug in here while you can. |
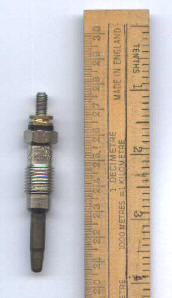
I have identified two types of glow plugs fitted to the VM engine so far:
|
|
|

|
From '97 engine |
From '94 engine. Type no on engine data page |
A description of how all this works is on the fuel system page