|
I needed to recondition the Clutch Slave Cylinder to cure the 'Droopy Pedal Syndrome'. After some initial thought, here (for what it's worth) is the non-Rover line on: Make sure you gather the following tools and other bits before you start. Ensure you have a good quality 10 and 11mm socket with a quarter inch drive (half inch is too fat to get to the top bolt) and universal knuckle with a 6" extension bar. A bleeding tube with fluid and small jar and a 13mm and 11mm open socket spanners. Borrow the bleed nipple dust cap (if missing then borrow one from a brake cylinder. 1. Raise the vehicle and place on stands or use drive up ramps. I removed the air cleaner, battery/tray, this give enough access from above to do a lot of the work without lying underneath the car although does not completely avoid it.
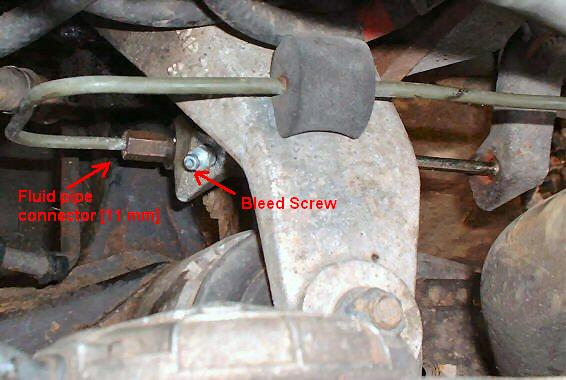
2. With the 13mm open ended spanner, undo the fluid inlet pipe and using the borrowed dust cap, seal the end to prevent fluid loss. (Sneaky huh?)
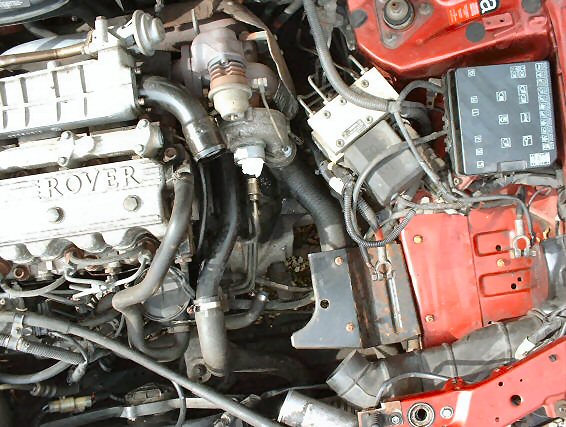
Zooming in from above we can see the salve cylinder and the pushrod which operates the clutch.
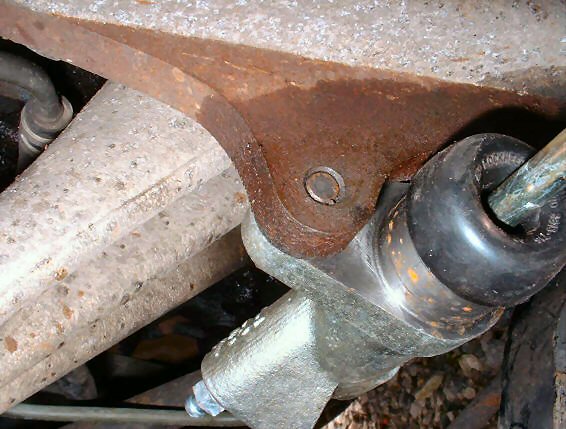
Remove the hydraulic pipe connector with an 11 mm open end key, then the top and bottom mounting bolts on my car these are 10 mm, it is possible to remove them from above with a 1/4 inch drive and 10 mm socket. Edward's next step was 3. Remove the top 11mm bolt by using 6" extension bar and socket. 4. Remove the lower 11mm bolt by using universal knuckle and socket. 5. Remove the cylinder and inspect for scoring Renew hydraulic rubbers. 6. When replacing, just screw the lower bolt to a pinch to give stability while replacing the upper bolt. 7. Replace fluid feed pipe and bleed the system using the 11mm spanner. Here's the new unit in place
Total time taken: 40minutes. Total success. |